
Sunday, July 26, 2015
Shadow Box
I am so pleased with how J's coming home shadow box turned out. I used his hospital blanket as the background and then put the outfit on top. I folded the outfit so I could fit a picture of him in the outfit as well as his footprints from the hospital. I also used a white tape measure to show his length on the side. Inside his folded outfit I put an unused benign size diaper left over from the hospital.

Wednesday, July 8, 2015
Ribbon Christmas Tree
I am currently working on an 8x8 album where I will put pictures of J and Santa as the years go on. I finished the page for 2014 and decided that I needed some kind of embellishment. Nothing that I had spoke to me so I decided to make a Christmas tree out of ribbon.


I cut green ribbon into three different lengths, with two of each length. The lengths were 2.75 inches, 2.5 inches and 2.25 inches. I then glued the ends of each individual ribbon together to make six individual loops. I then started at what would be the base of my tree with the longest lengths and overlapped the ends. I did this step with the other two lengths.

I used a .25 width of briwn cardstock to create the trunk of the tree. To finish the tree I added a white and red ribbon bow.
 |
| The finished product |
 |
| The completed page |
Monday, June 29, 2015
DIY Lego Tshirt
Let's Lego!
This week at Romp n' Roll the theme is Let's Lego! I had seen a diy Lego shirt floating around Pinterest and I wanted to give it a shot. I googled Lego Silhouette and this is what I came up with:

I fused the shapes together on my Silhouette and then had my machine cut it out. I then laid the template down on the shirt and used some tape to secure it. I then used yellow fabric paint to paint the Lego man. When it was dry I removed the template and used a regular black sharpie to trace the outline of the Lego man.
 |
| securing the template the the shirt |
 |
| time to paint! |

 |
| working hard! |
 |
| everything is awesome! |
Washi Tape and Ribbon Scrapbook Layout

I created by background using ribbons that I bought at Hobby Lobby (50% off too!), washi tape that I bought at a scrapbook expo and some buttons (also from Hobby Lobby). I created my pattern of ribbon and washi tape and glued it down. I knew my photo needed something to separate it from the busyness of the ribbon so I backed it on plain orange card-stock. I created the title using my Silhouette Portrait.
Friday, June 26, 2015
Kings Dominion Two Page Scrapbook Layout

For the week 3 challenge issued by My Scraps & More we had to create a layout that used six or more patterned papers. I chose to focus on our most recent trip to Kings Dominion because I thought that the pictures, while busy, could hold their own amongst the busy papers.
To create this page I used papers from the Best of Pebbles Paper Pad that I purchased from Hobby Lobby (with my 40% off coupon). I used the cloud paper as my base and then added two different strips in different widths to the bottom to give it some weight. In the bottom strip is also where I added my title cut from my Silhouette Portrait. I then used the black and white polka dot to create the background for my pictures. I used five different patterns to then create the flags at the top.
Once again using my silhouette I cut the sun and clouds and I created the Snoopy cut. I wish I could take credit for creating the Snoopy file but I cannot. I got the SVG file from Cori's Cricut page. I then had to save it as a picture and then transfer it over into my silhouette.
To finish the page I made a tag from plain white card-stock and added some different colored bakers twine.
These links are being provided as a convenience and for informational purposes only.
Saturday, June 13, 2015
Scrapbook Expo!
 |
| Creativity Grows Here |
This was the second year that my mom and I went to the Dulles Expo Center to the Scrapbook Expo! This year we decided to take a class: Coloring with Copics on Glitter Paper. Um. Coloring AND glitter paper? Yes please! We took the class from Krazy Kreations and worked on shading and different techniques with the glitter paper. I have not used Copics very much but this technique is so much fun and the glitter paper makes it even that much more fun!
 |
| coloring on glitter paper with Copics |
Friday, June 12, 2015
Mini Album Scrapbook Layout
 | |
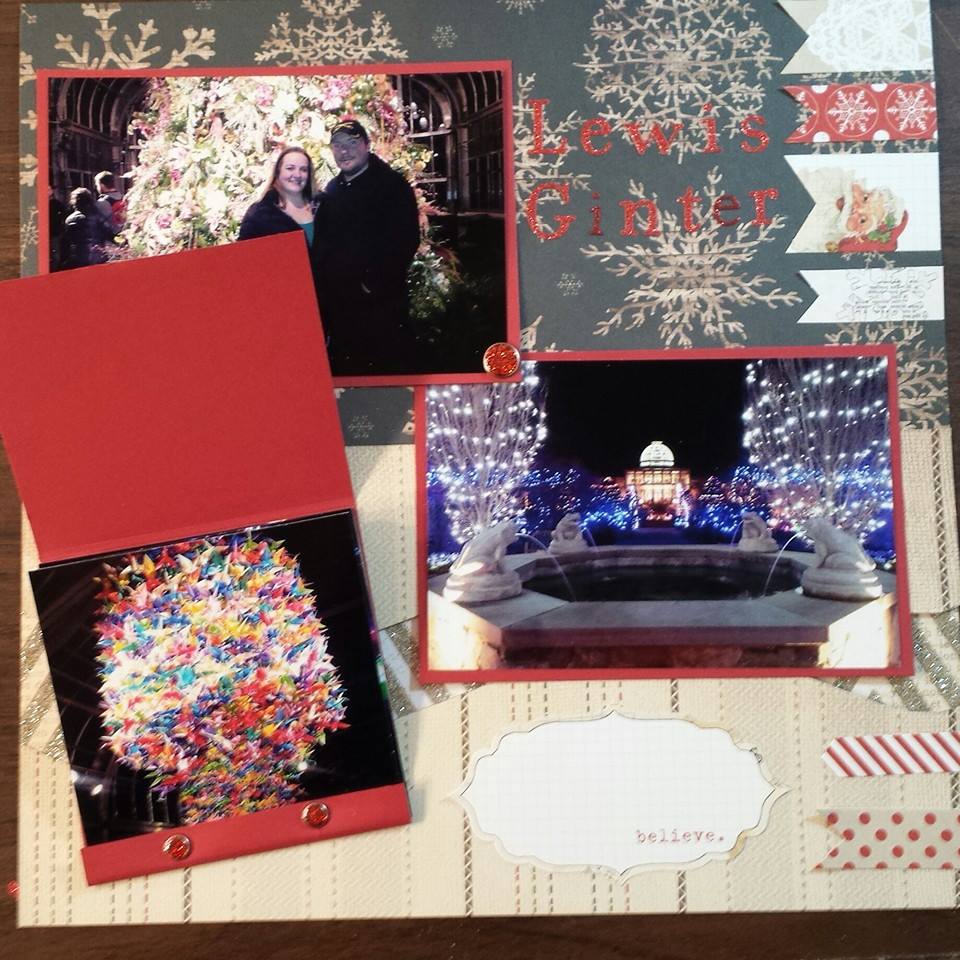 |
| view of the mini album open |
 |
| to hold the matchbook album together I used brads instead of staples because i wanted the shiny :) |
Subscribe to:
Posts (Atom)